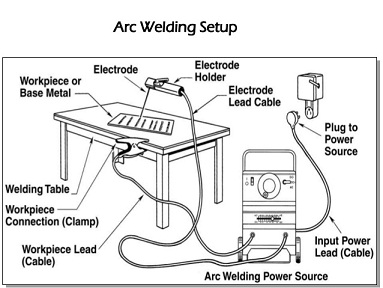
Stick welding is one of the most preferable methods for metal works as it is not only quick and convenient but also delivers spotless results. It seems like a useful tool, isn’t it? If you are wondering how to set up a stick welder at first, we are here to provide you with a list of advice to have the best performance.
You will find this task a piece of cake as long as you can use the stick welding skills proficiently. So, stay tuned till the end of this article to get a step-by-step guide on setting up a stick welder.
How To Set Up A Stick Welder?
What is stick welding?
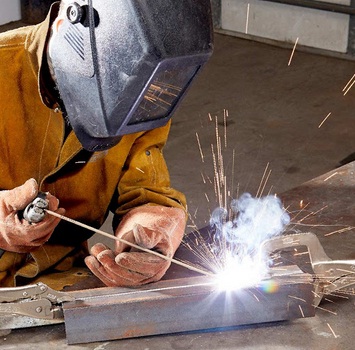
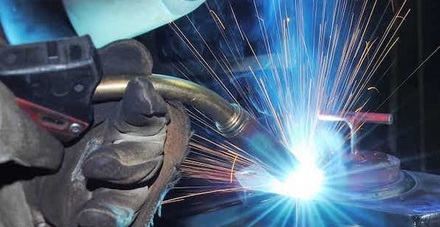
Stick welding is now one of the most popular welding methods
Before going into details about the stick welder setting technique, let’s spare some time to look at the necessary information. Having full knowledge of stick welding assures you of using this machine effectively.
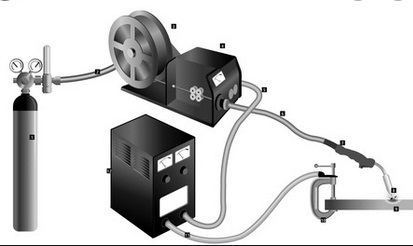
Manual arc welding (stick welding) is a method that carries out electro-soldering welding using a form of welding covered electrodes. All operations from creating arcing, moving and replacing welding rods, etc. are all carried out by a welder.
Useful tips on setting up a stick welder
Now you have found out what stick welding is. Let’s see the essential guide on how to set up a stick welder we have prepared just for you.
1. Set the current
You can use either DC or AC, and this is determined by the electrode type. But most of the time, people just stick with the former. When you weld, the voltage will stay pretty much the same, but the amperage might alter depending on the length of the arch.
Furthermore, the electrode being used as well as the diameter of the rods will decide the size of your current. This detail can be adjusted according to the following calculation: 1 Amp corresponds to 0.0254 mm diameter of the stick. For instance, you can leave the welding current low and then level it up to 5 to 10 Amp.
2. Adjust the arc length
There is just one simple rule for this: The welding arc length should not exceed the rod diameter.
Here is the reason. When the arc fails to reach the standard length, it can result in an unstable work as it may shut down the arc, hardening the welding pool and creating high scales. On the other hand, if the arc exceeds the standard length, then your metal workpieces will wind up with some unwanted phenomena like splashes, slow precipitation and pitting.
3. Adjust the angle
For surface welding, the perfect welding angle should be from 5 to 15 degrees in the direction of motion. But if it is vertical position arc welding that you are going for, that angle should fall between 5 to 15 degrees in the opposite direction of the welding rod movement.
4. Manipulating the welding rod
Remember to keep the rod moving along the weld axis and adjust the arc length. You should maintain a horizontal movement to ensure the width of the weld. There are many types of motion: smooth, continuous, and discontinuous, depending on the thickness of the solder.
With a thin solder, it is not required to maintain the horizontal movement of the welding rod because the arc width itself is enough to fill up the groove. When it comes to vertical welding, it is important that you start from the bottom to the thick plates.
5. Adjust the welding speed
You should ensure that the arc makes up 1/3 of the length of the pool. If the speed of welding is too slow, it will create convex and non-welded scales. In contrast, if the welding speed is too fast, it will reduce the work’s penetration and create uneven welding scales.
6. Weld
Now that your stick welder is ready for the best metal workpieces! You must follow the safety instructions and precautions to prevent those unwanted damages and injuries. Remember to remove anything that may affect the work from your surroundings. We are sure that you will be satisfied with the DIY achievement afterwards.
Conclusion
Through the provided information in this article about how to set up a stick welder, we guess that now you have known all the necessary steps. If you are willing to spend time and effort in stick welding, we assure you that it will no longer be complicated. So what are you waiting for? Let’s get started right away and make yourself the most beautiful metal pieces.

Leave a Reply