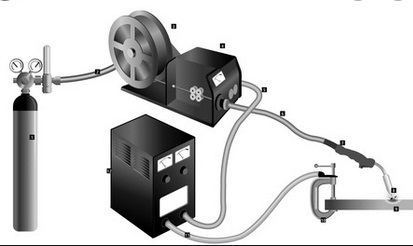
 “How to set up a MIG welder with gas?” is the most frequently asked question for MIG welding technique. MIG is one of the most popular welding methods but the setting-up process may be a hard nut to crack, especially for newbies. In this article, we will show you step-by-step to set up MIG welder with gas in the easiest way. Are you ready for it? Let start now!
Table of Contents
Mig Welding Technique
General Information
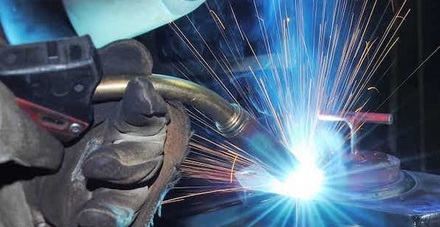
Mig welding is a technique of melting arc welding in protective gases environment. In this method, the welding heat origin is provided by the arc which was created between the molten electrode (welding wire) of the welding materials. The protective gas in MIG welding can be activated gases (CO2; CO2 + O2; CO2 + Ar, Helium) that push air out of the welding area and limit its adverse effects. Moreover, depending on the different welding materials, you should use different gases or suitable gas mixtures.
Features
Compared with other welding methods, Mig welding method has fast and continuous welding speed, which saves welding materials. The quality of Mig welding is higher than that of other welding techniques: flatness, gloss, no weld, especially MIG welding machine consumes little electric power.
Pros
- Compared with manual arc welding, the MIG welding process does not generate toxic gases.
- MIG welding can be carried out at all different spatial positions and weld positions.
- Because of the high welding speed, the welding result is less prone to warping and significant heat efficiency.
Cons
- MIG welding equipment is more expensive than arc welding.
- Heat radiation is quite high.
- Protective gas can be blown by the wind, which makes it challenging to use on the construction site.
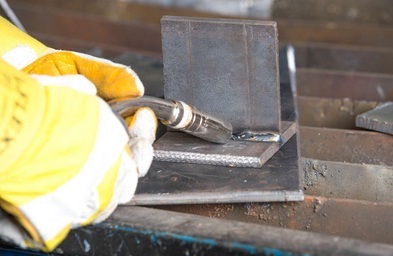
MIG Welding Technique
How To Set Up A Mig Welder With Gas?
Preparation
For the welding process to take place well, you must prepare all the equipment and materials enough. So, what should you prepare? The primary metal materials. It’s essential to determine which type of materials you will weld as well as its thickness because features of your materials will affect directly to process. Next, choose the proper joints with the main materials. Keep in mind that they should be new and clean joints for safety and better welding. Also, you should choose the right gas and filler wires. It depends on the types of materials that you want to weld.
Setting Up
Step 1: Choose an appropriate location to place your welder machine where there is clean, dust-free and dry, protected from direct sunlight or water. For safe surface contact, don’t use welding cables that unqualified and can’t meet safety standards.
Step 2: Check and ensure that the primary materials have to fit the soldering-iron and welding wire feeders, the adapter of soldering-iron must be tightened with the bolts.
Step 3: Connect welder with the gas duct. Put the gas bottle upright in a stable position, then tighten the coupling between the gas duct and nut with a wrench.
Step 4: Connect to the power supply. The welding electricity source must be grounded, metal materials and clamping devices are needed to be connected together in accordance with electrical safety standards.
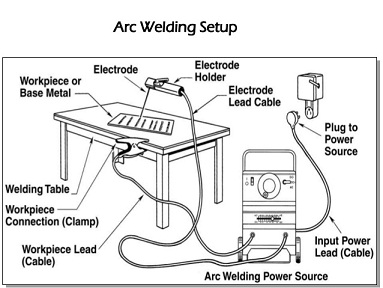
Step 5: Cable connection. Connect the welding cable with the bolt with a wrench and tighten it. Then, join the control cable and the welding cable tightly together. One thing you need to keep in mind is adjusting the voltage and gas flow depending on your welding materials when welding.
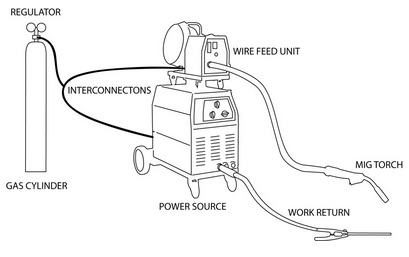
Set up MIG welder with gas
Bottom Lines
To keep it short and sweet, we hope that you have known how to set up a MIG welder with gas and more helpful information for MIG welding technique. Remember to choose proper materials, joints, additional devices as well as position for better welding. Last but not least, putting on workwear and ensuring occupational safety are prerequisites! Don’t forget it!
Leave a Reply